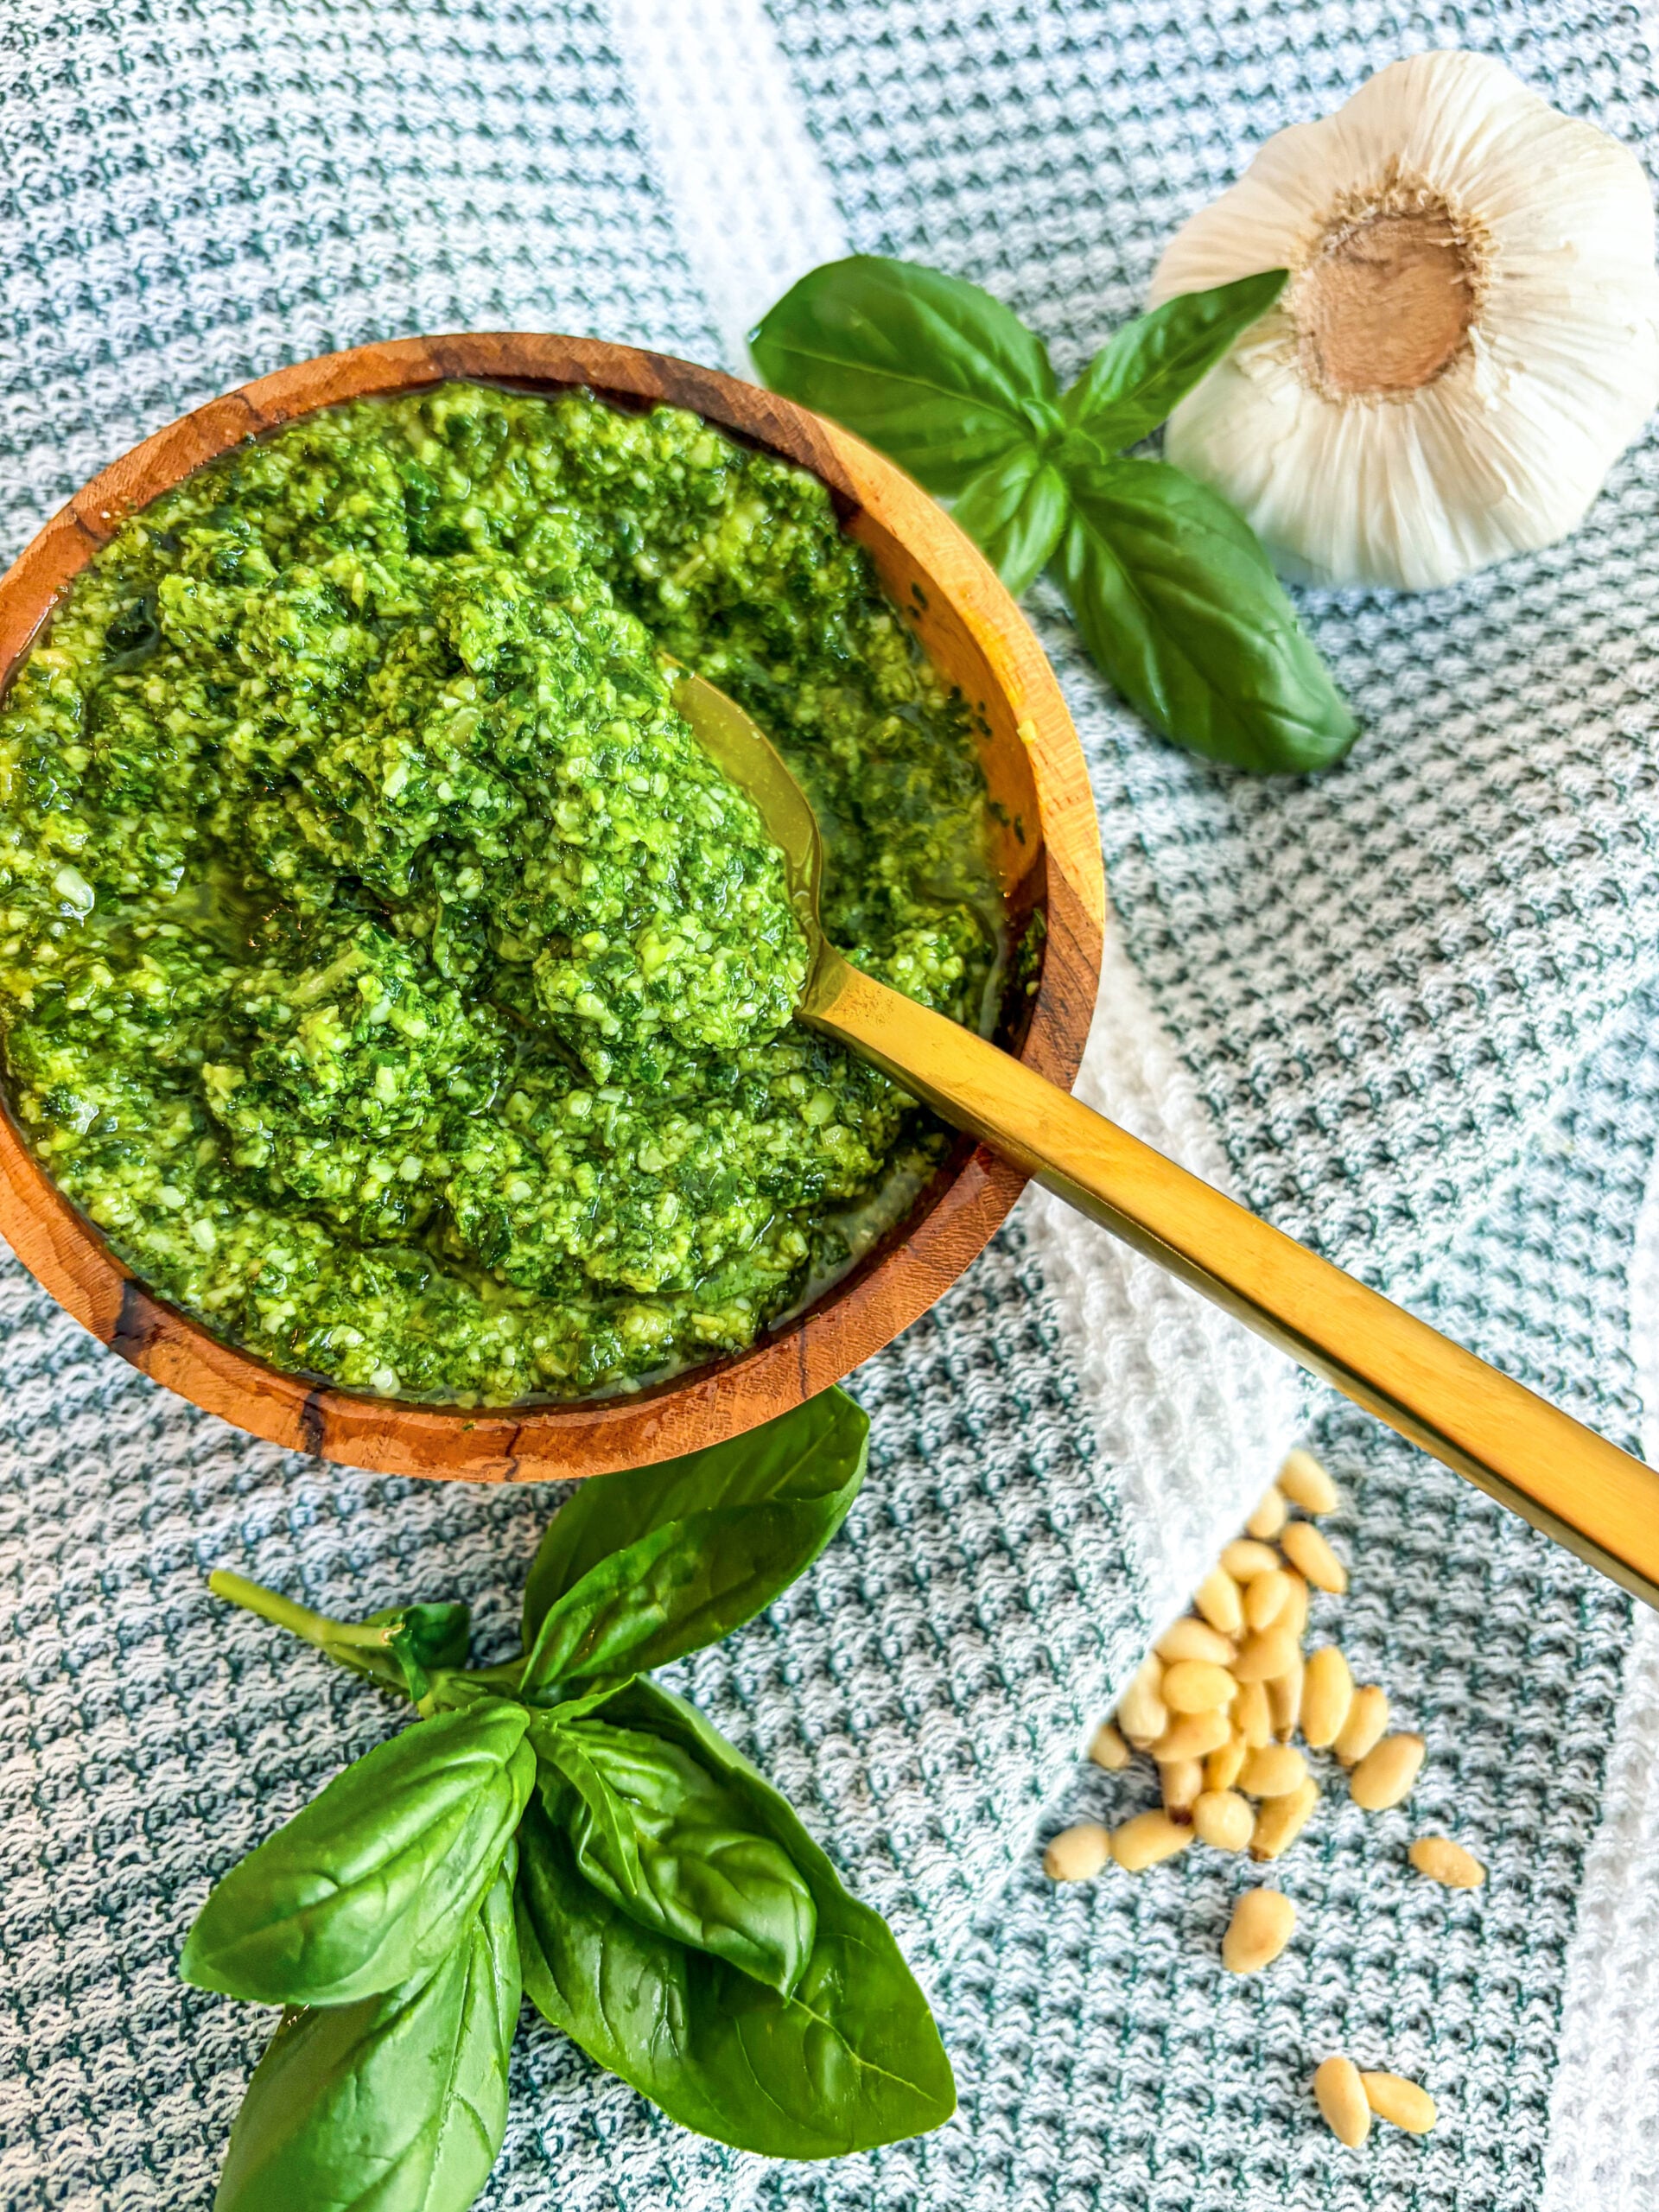
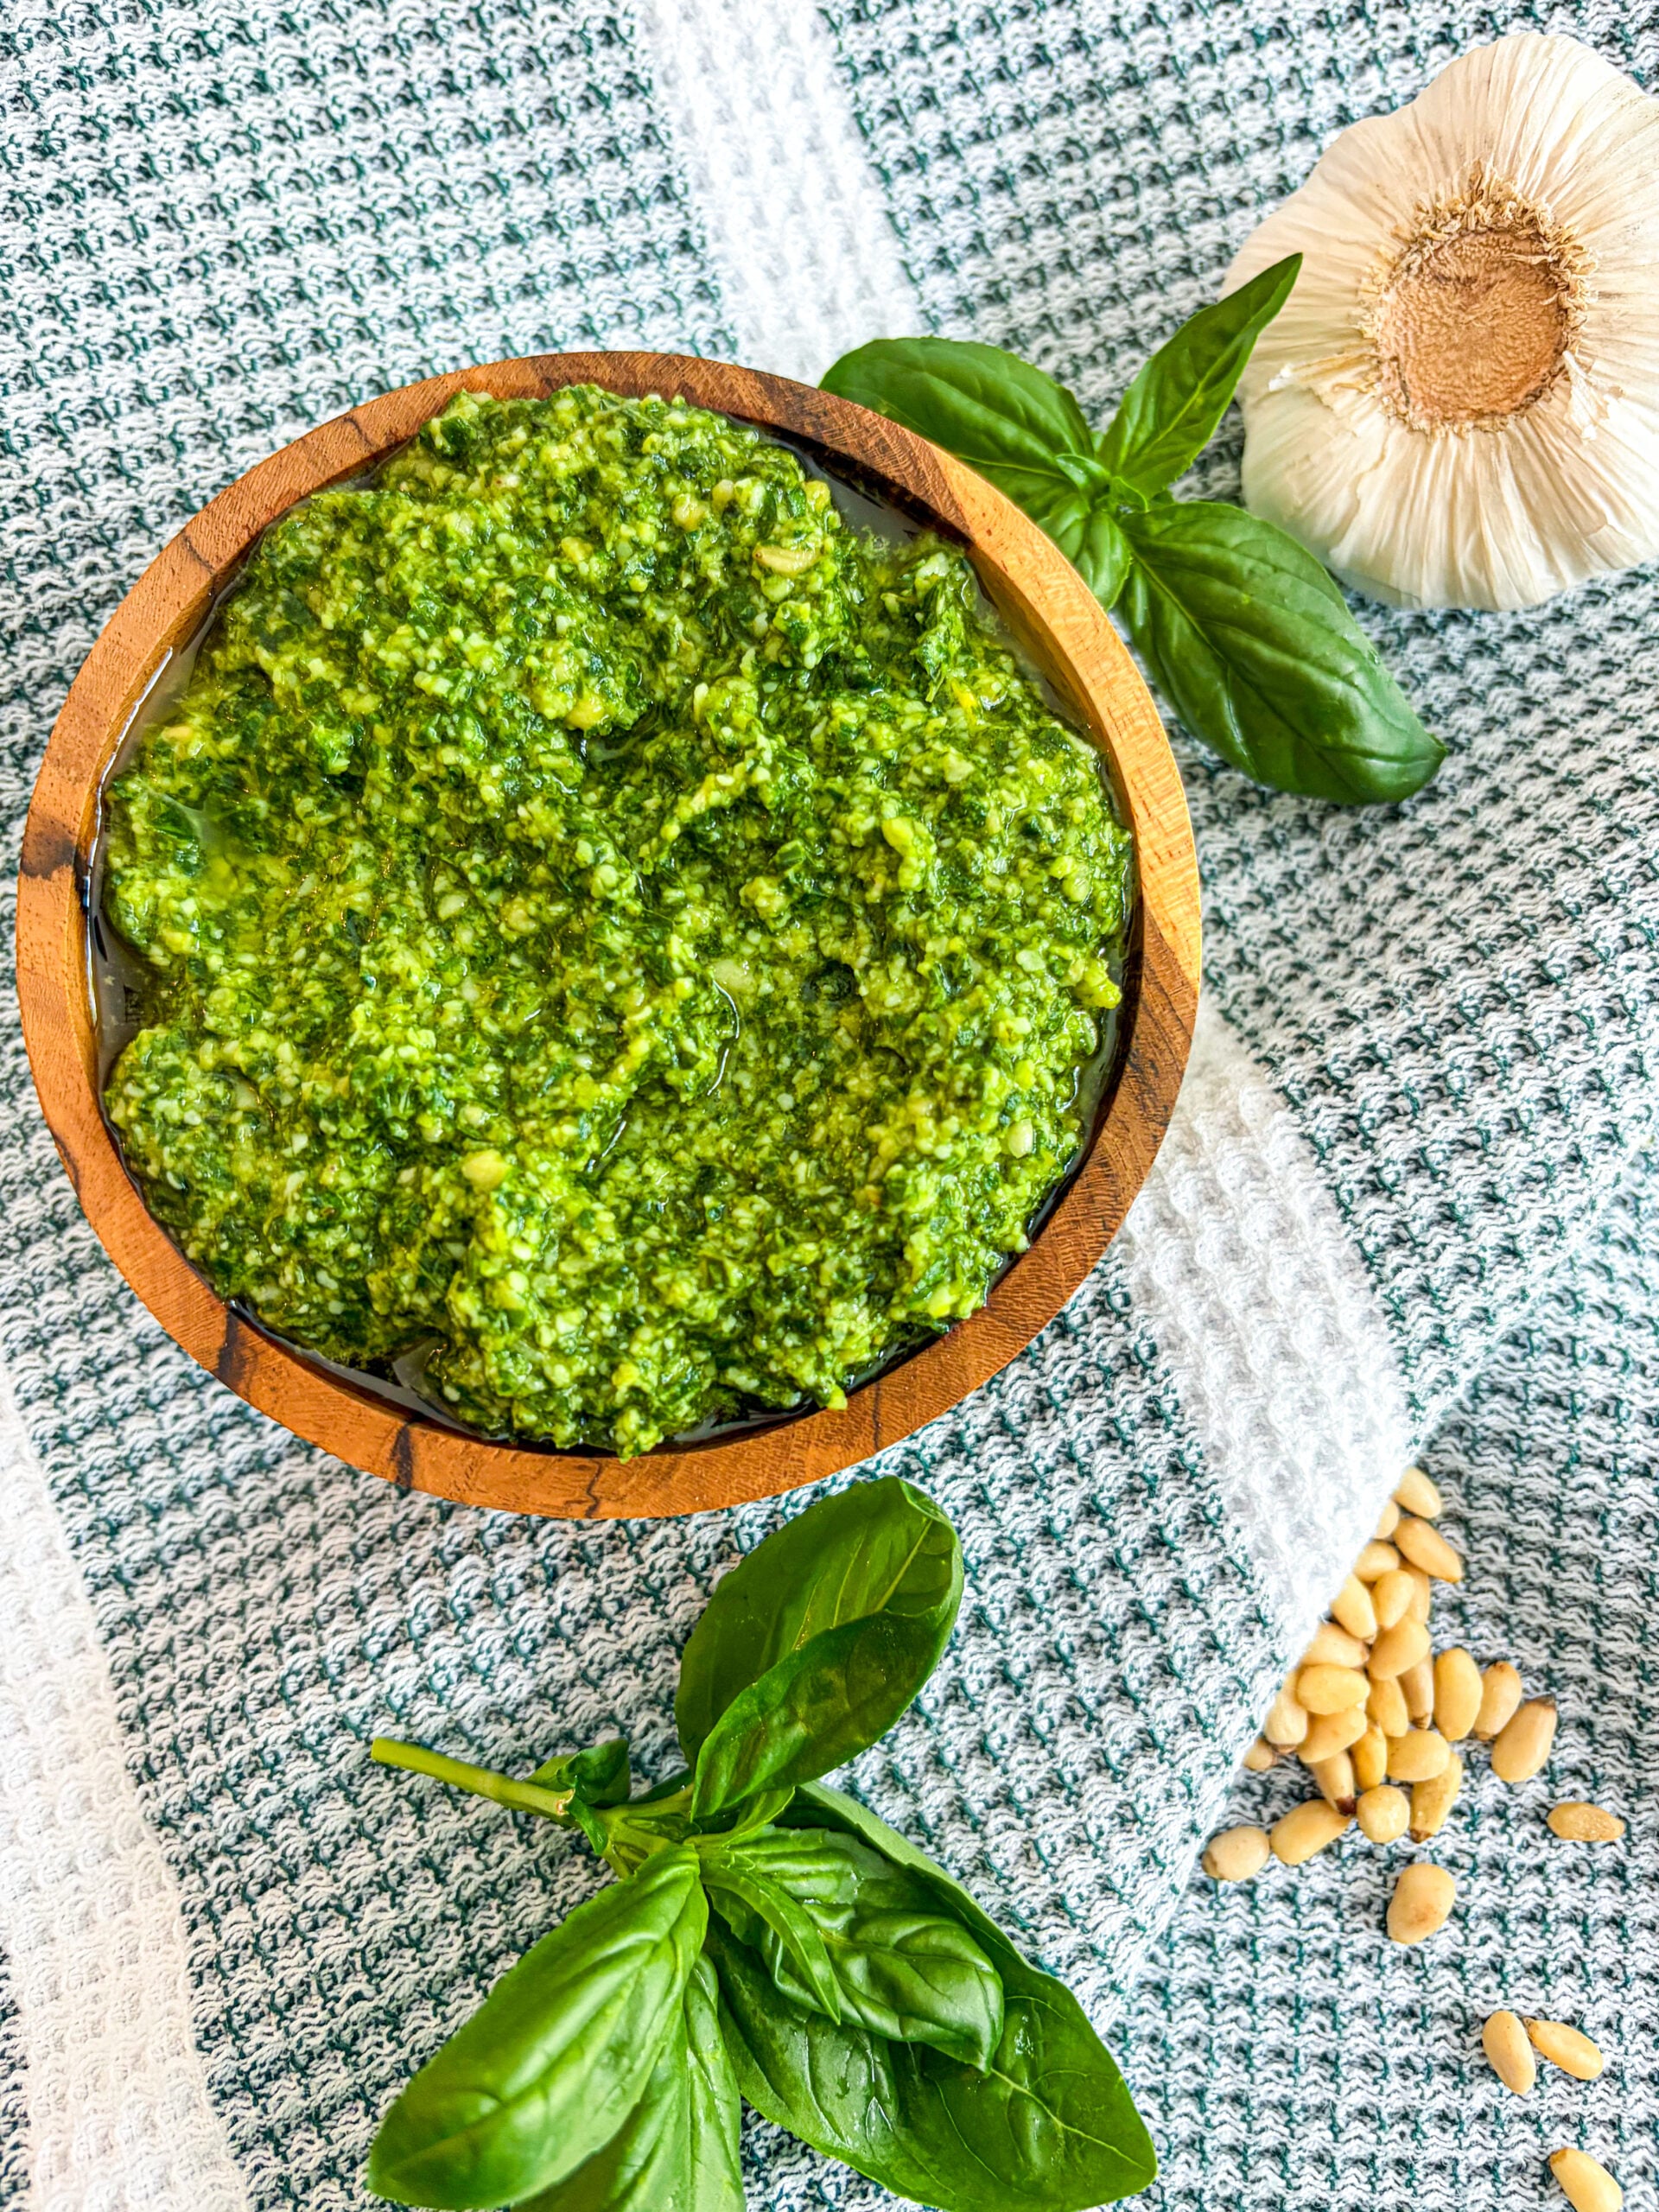
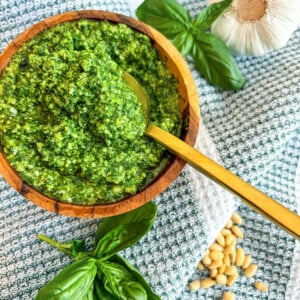
Want to make authentic basil pesto at home? It only takes 10 minutes and a handful of fresh ingredients to make a vibrant, homemade pesto that beats any store-bought.
Save the Recipe!
One of the best parts of visiting Italy is tasting their pesto. It really does taste different in the best way! But honestly, the main reason is that many of us outside Italy tend to overcomplicate it!
The biggest mistakes? Adding unnecessary ingredients, using low-quality ingredients, and heating the basil, which dulls pesto’s bright flavor and vibrant green color.
After plenty of pesto-filled trips to Italy, I’ve taken back a few simple tips and tricks that make all the difference. I’m sharing them in this recipe so you can make the freshest, brightest, most flavorful pesto right at home. Grab your best basil, olive oil, and cheese, and let’s get saucy!
This Homemade Pesto Is…

- Vibrantly green and flavorful
- Authentic
- Requires only 10 minutes to make
- Great made ahead and to freeze
- Easily customizable (different variations below!)
Pesto Ingredients
You only need a handful of ingredients to make pesto that tastes like you’ve been transported straight to Italy. The quality of the ingredients are really important here!
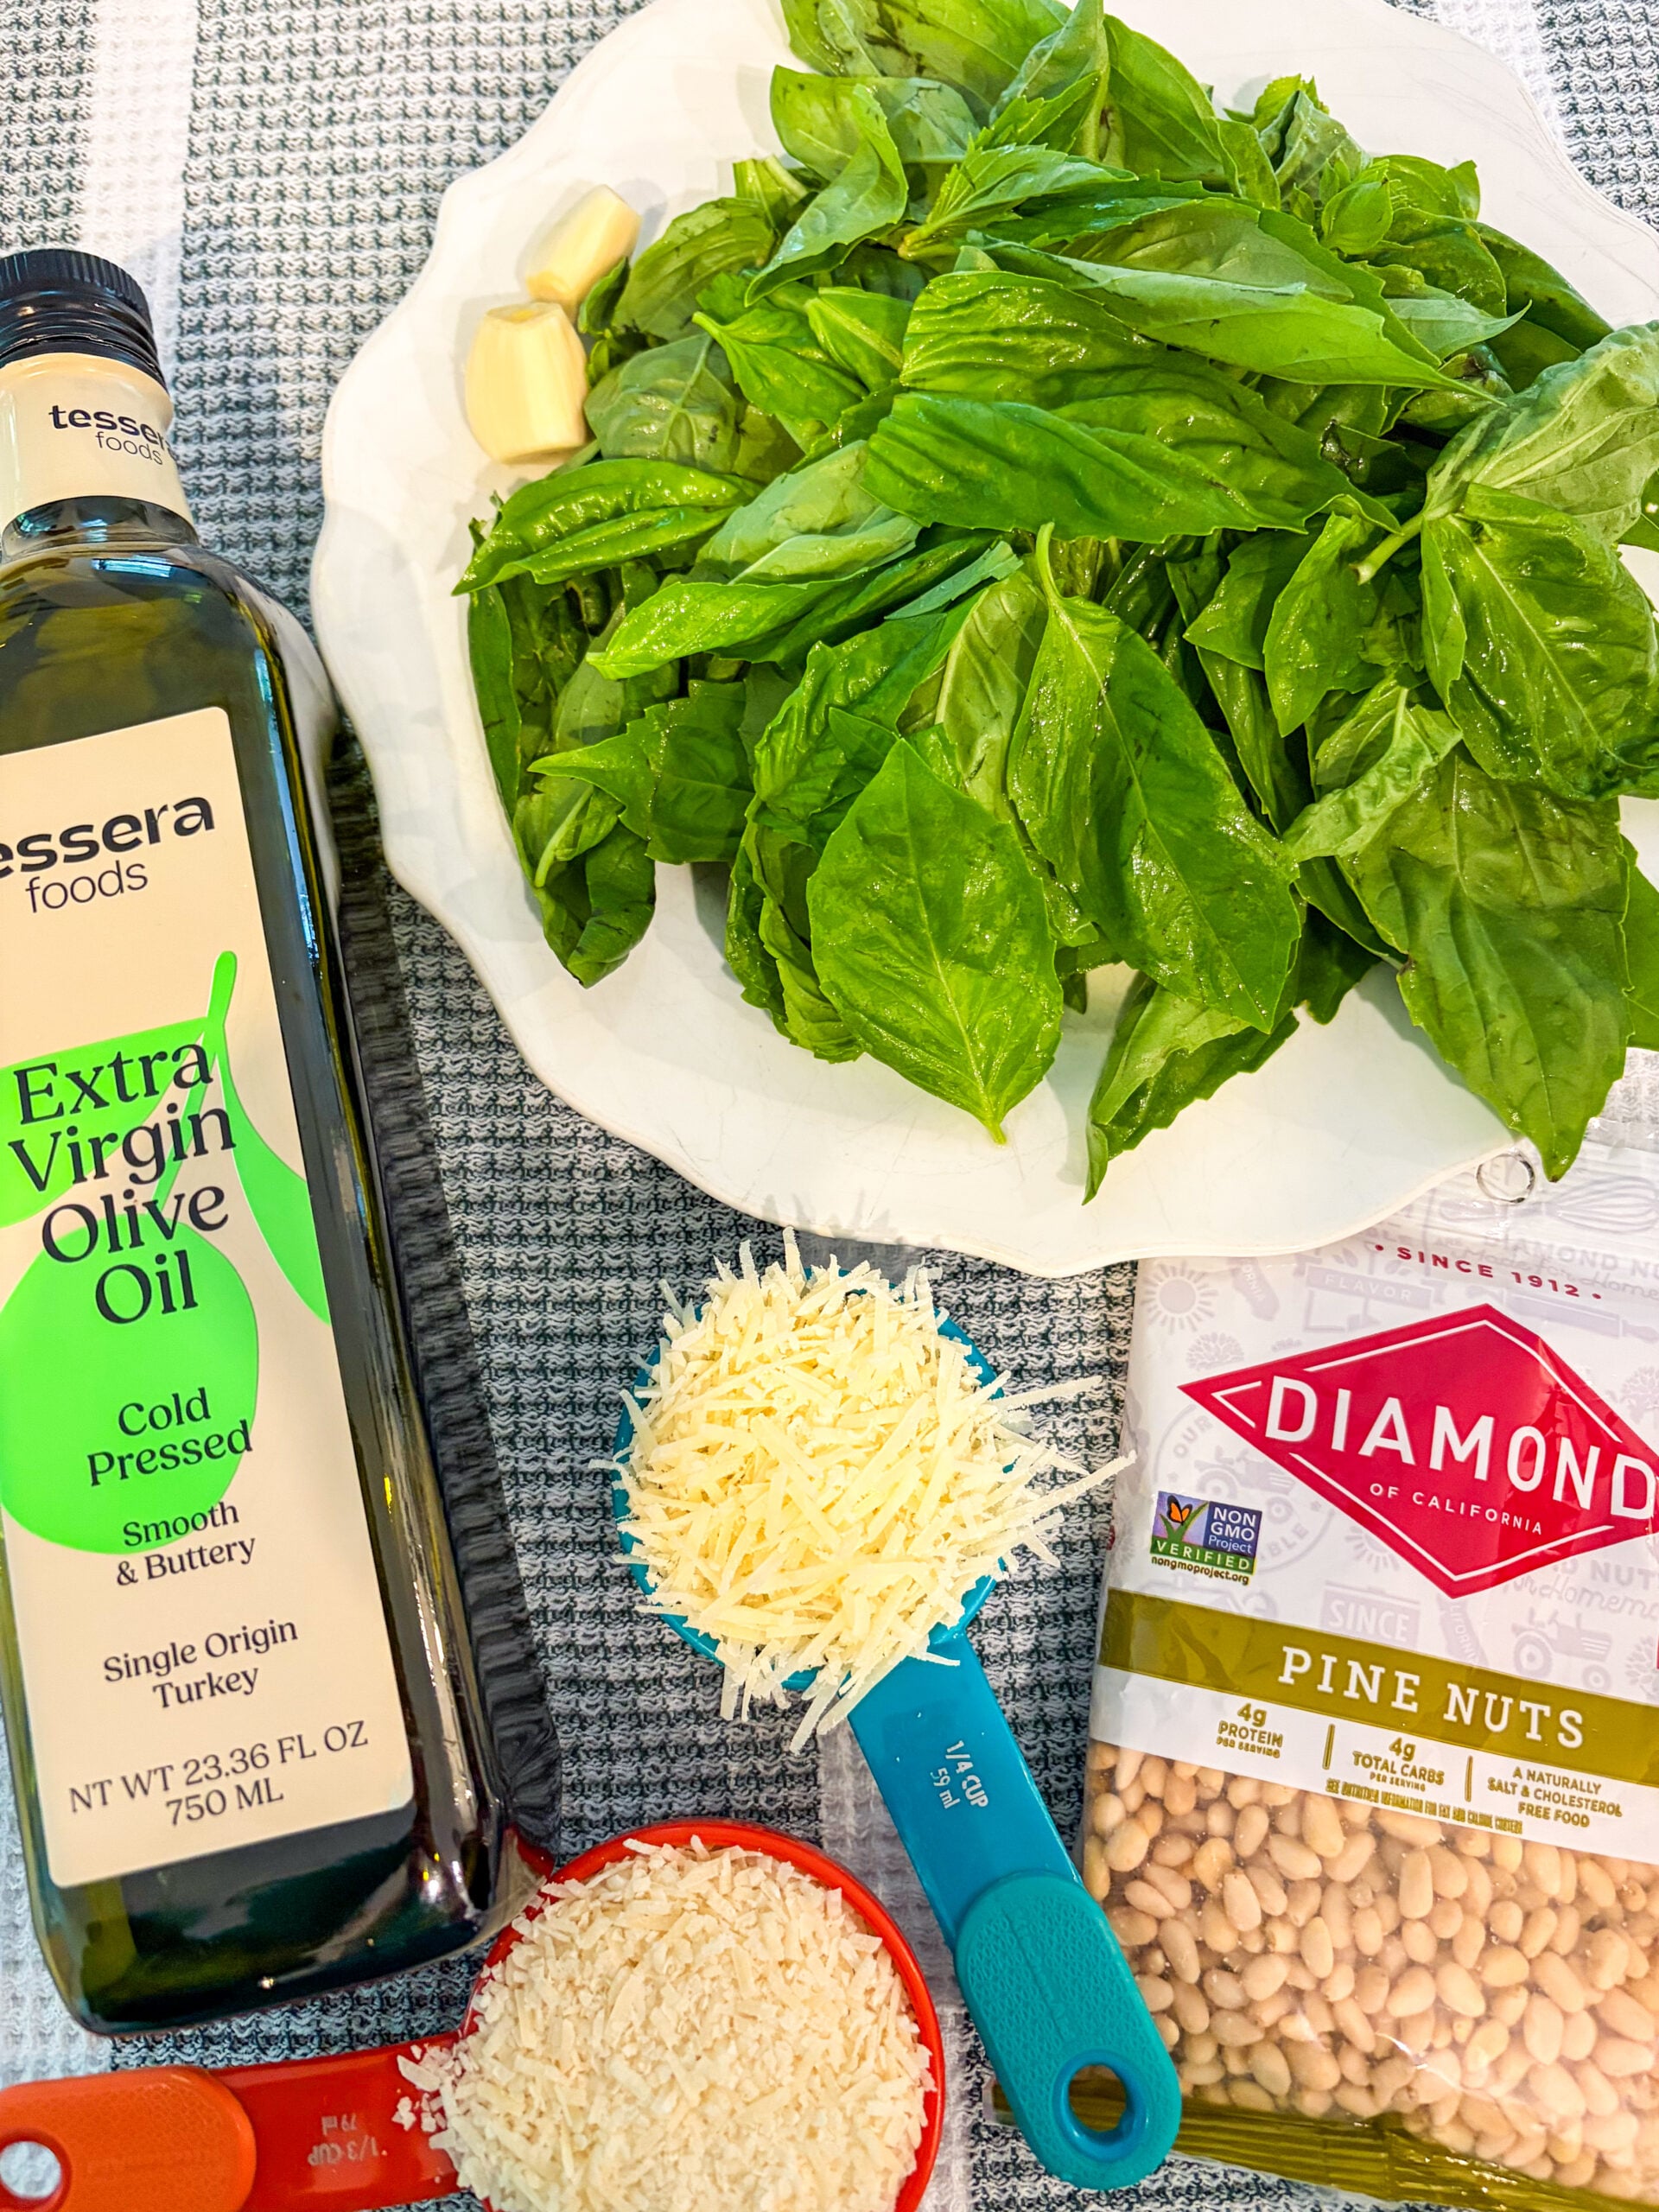
- Fresh basil leaves – the fresher the basil, the better your pesto will taste!
- Extra virgin olive oil – olive oil creates a “sauce”. Just as with the basil, the better the olive oil, the better the pesto will be!
- Parmigiano Reggiano cheese – both Parmigiano and Pecorino are used in classic Genovese pesto. Parmigiano brings nutty, slightly sweet umami. While you can use regular parmesan cheese, Parmigiano Reggiano (the aged version) makes all the difference.
- Pecorino Romano cheese – Pecorino is also classic in Italian pesto, adding salty, sharp brightness.
- Pine nuts – pine nuts create a buttery, creamy body.
- Garlic cloves – garlic is the *spark*, lifting the richness of the cheese and olive oil.
How to Make Pesto
Let’s make the best basil pesto in just a few minutes! Here’s an outline; for the full recipe, see the recipe card below.

Step 1: Add olive oil, parmesan, pecorino, and garlic to a food processor or blender with a “pulse” setting. Pulse mixture until roughly chopped.
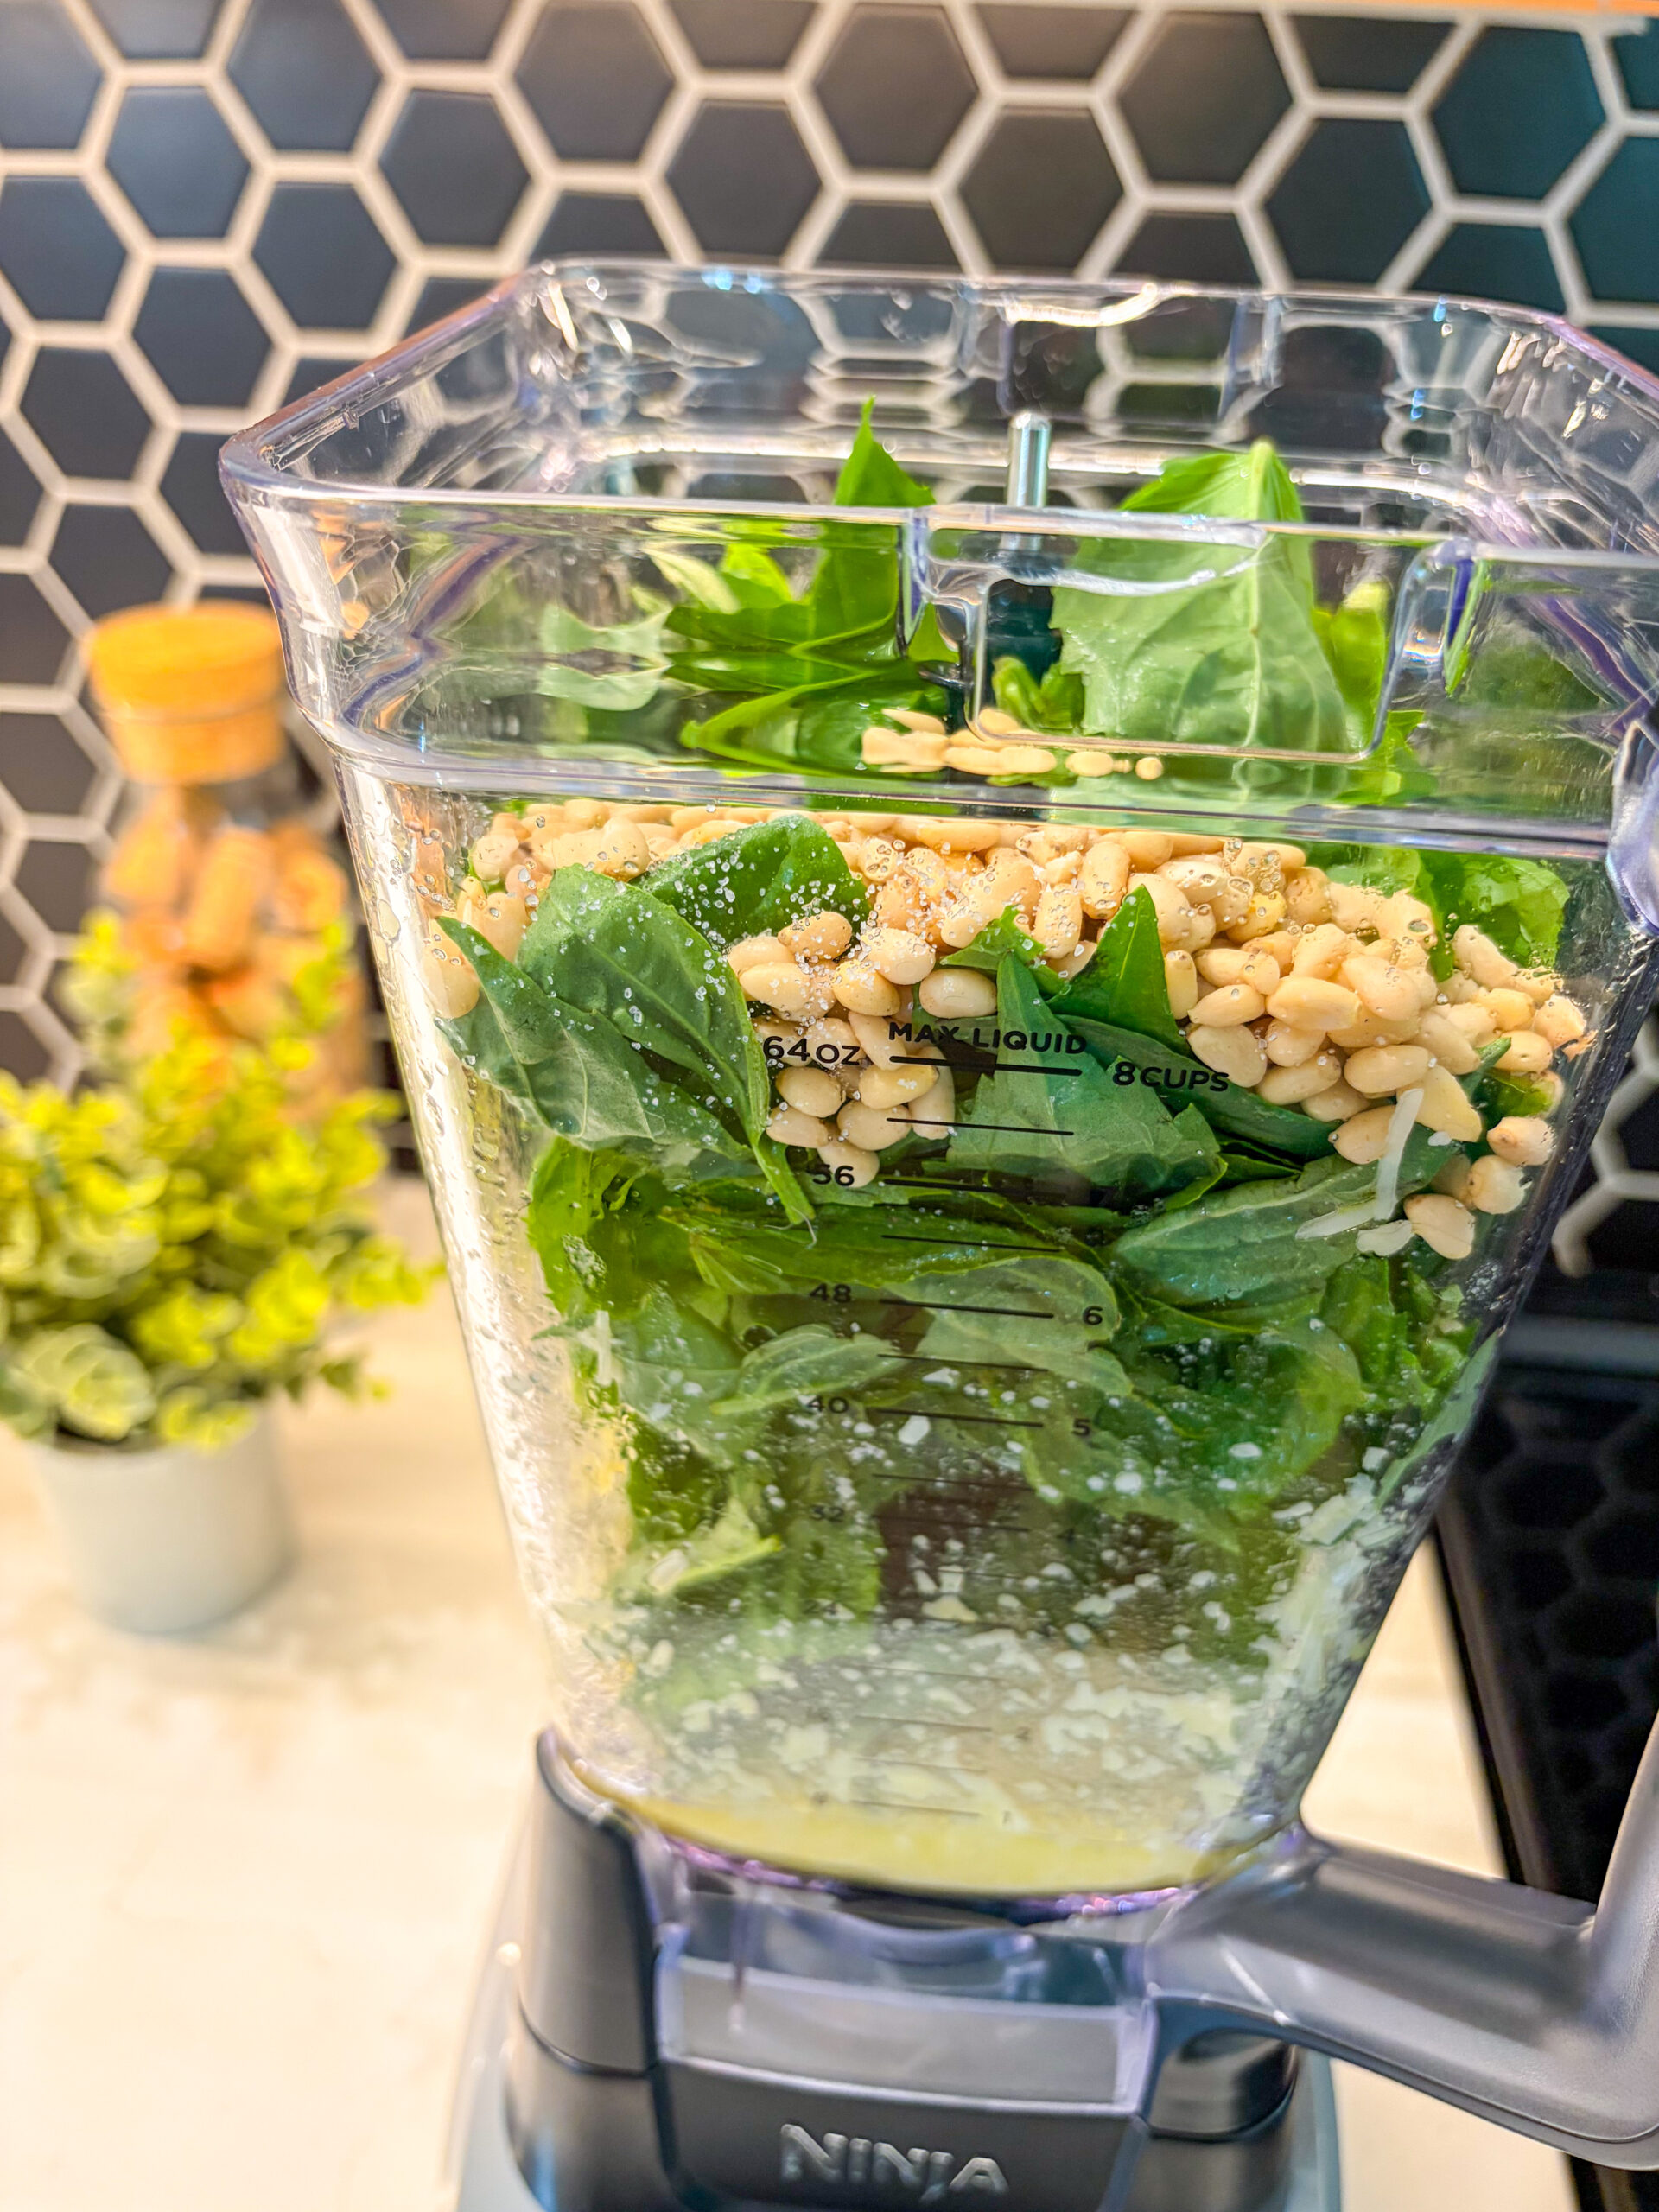
Step 2: Scrape down the sides. Add basil, pine nuts, and salt.
Step 3: Pulse until desired texture, scraping down sides as needed. Enjoy!
Video: How to Make Pesto
Pesto Recipe Variations
Want to change up the classic? Here are some fun variations to try out!
- Arugula pesto: use arugula instead of basil for a sharper, peppery bite that’s great with grilled meat like Grilled Chicken Thighs.
- Parsley pesto: use parsley instead of basil for a brighter, more citrusy bite similar to Chimichurri.
- Walnut or pistachio pesto: instead of pine nuts, try chopped walnuts or pistachios!
- Roasted Garlic pesto: use my quick tip for roasting garlic to add rich, toasty-sweet flavor.
- Lemon pesto: add the zest and juice of half a lemon for a brighter, tangy pesto.
- Avocado Pesto: avocado pesto is extra creamy and luxurious.
- Sun-dried Tomato Pesto: sun-dried tomato pesto is sweet yet briny from olives, great as a topping for Crostini, on Pork Milanese, or mixed into pasta.
- Broccoli Pesto: for extra nutrition and a chunkier pesto, try pesto made with broccolini instead of basil!
How to Use Basil Pesto
The uses for pesto are pretty endless! Here are my top ways to enjoy it:
- Pasta: toss in hot pasta with a splash of water for a pasta like Chicken Pesto Pasta, or rinse pasta under cold water after boiling, shake dry, and toss pesto into cooled pasta for pasta salad.
- Protein: top on Baked Chicken Breast, Bruschetta Chicken, Poached Salmon, Grilled Salmon, etc.
- Sandwiches: it’s so good on a Turkey Sandwich, Grilled Chicken Sandwich, or Caprese Sandwich.
- Bruschetta: top on classic Bruschetta or your Crostini of choice!
- Eggs: mix into Scrambled Eggs or layer in a French Omelette.
- Veggies: spoon over Roasted Zucchini or Broiled Asparagus.
- Potatoes: slather on Smashed Potatoes or Baked Sweet Potatoes.
- Pizza: drizzle over pizza.

FAQs
I find pesto is best freshly made, but you can also store it in the fridge in an airtight container for 4-5 days. To help slow browning, smooth a thin layer of olive oil over the top before sealing the container.
Yes, pesto freezes super well! The easiest method is to spoon it into an ice cube tray, freeze until solid, and then transfer the cubes to a freezer bag. This lets you thaw small portions as needed. Frozen pesto keeps its flavor well for 4-5 months, especially if frozen with a light oil layer on top.
Pulse pesto instead of blending it on constant speed, to prevent the blades from heating up which can dull both the color and flavor of the pesto. And store with a light layer of oil on top to prevent oxidizing.
If you don’t have or want to use pine nuts, walnuts or pistachios are great alternatives! Sunflower seeds are a good nut-free option that still provides body without changing the flavor too much.
Yes, pesto texture is completely customizable! For a chunkier, more rustic pesto, you can pulse it briefly in a food processor or use a mortar and pestle so the herbs and nuts stay textured. For a smoother, more sauce-like consistency, pulse it longer.
More Italian Sauce Recipes You’ll Love!

Dressings, Sauces & Dips
BEST Vodka Sauce Recipe

Dressings, Sauces & Dips
Creamy Italian Tonnato Sauce

Appetizers
Italian Bagna Cauda

Dressings, Sauces & Dips
Easy Homemade Tomato Sauce
If you’ve tried this Pesto Recipe or any other recipe on my website, please let me know in the comments below. I love hearing from you. Please consider leaving a 🌟 star rating while you are here!
Easy Pesto Recipe

Equipment
- Food processor or blender (with pulse setting)
Ingredients
- 2 cups fresh basil leaves, packed
- ½ cup extra virgin olive oil
- ⅓ cup Parmigiano Reggiano cheese, (or regular parmesan) finely grated
- ¼ cup Pecorino Romano cheese, finely grated
- ¼ cup pine nuts
- 2 medium garlic cloves, peeled
- Salt, to taste
Instructions
- Add olive oil, parmesan, pecorino, and garlic to a food processor or blender with a “pulse” setting. Pulse mixture a few times until garlic is roughly chopped.
- Scrape down the sides. Add basil, pine nuts, and salt.
- Pulse until desired texture/chunkiness, stopping to scrape down sides as needed. Enjoy!
Video
Notes
- Wash and gently pat dry basil before using.
- You can use just parmesan cheese (heaping ½ cup) if preferred, although the blend of cheese is traditional!
- Don’t have pine nuts? Use chopped walnuts!
- Prefer a more oily/looser pesto? Add a splash more olive oil.
- Pulse pesto instead of blending it on constant speed, to prevent the blades from heating up, which can dull both the color and flavor of pesto.
Nutrition
Nutrition information is automatically calculated, so should only be used as an approximation.


So fresh and delicious! The perfect summer condiment. The olive oil trick was also super helpful for stopping it from turning brown.
Those little tricks make all the difference! Glad you enjoyed 🙂
Grace
I could put pesto on anything! Thanks for all the linked recipe ideas. Looking forward to trying it on bruschetta chicken!
Glad they are helpful! Cheers!
Grace
I am obsessed with pesto and have never added pecorino….until tonight!! NEVER GOING BACK. Thanks 🙂
It adds so much flavor!! Cheers!
Grace